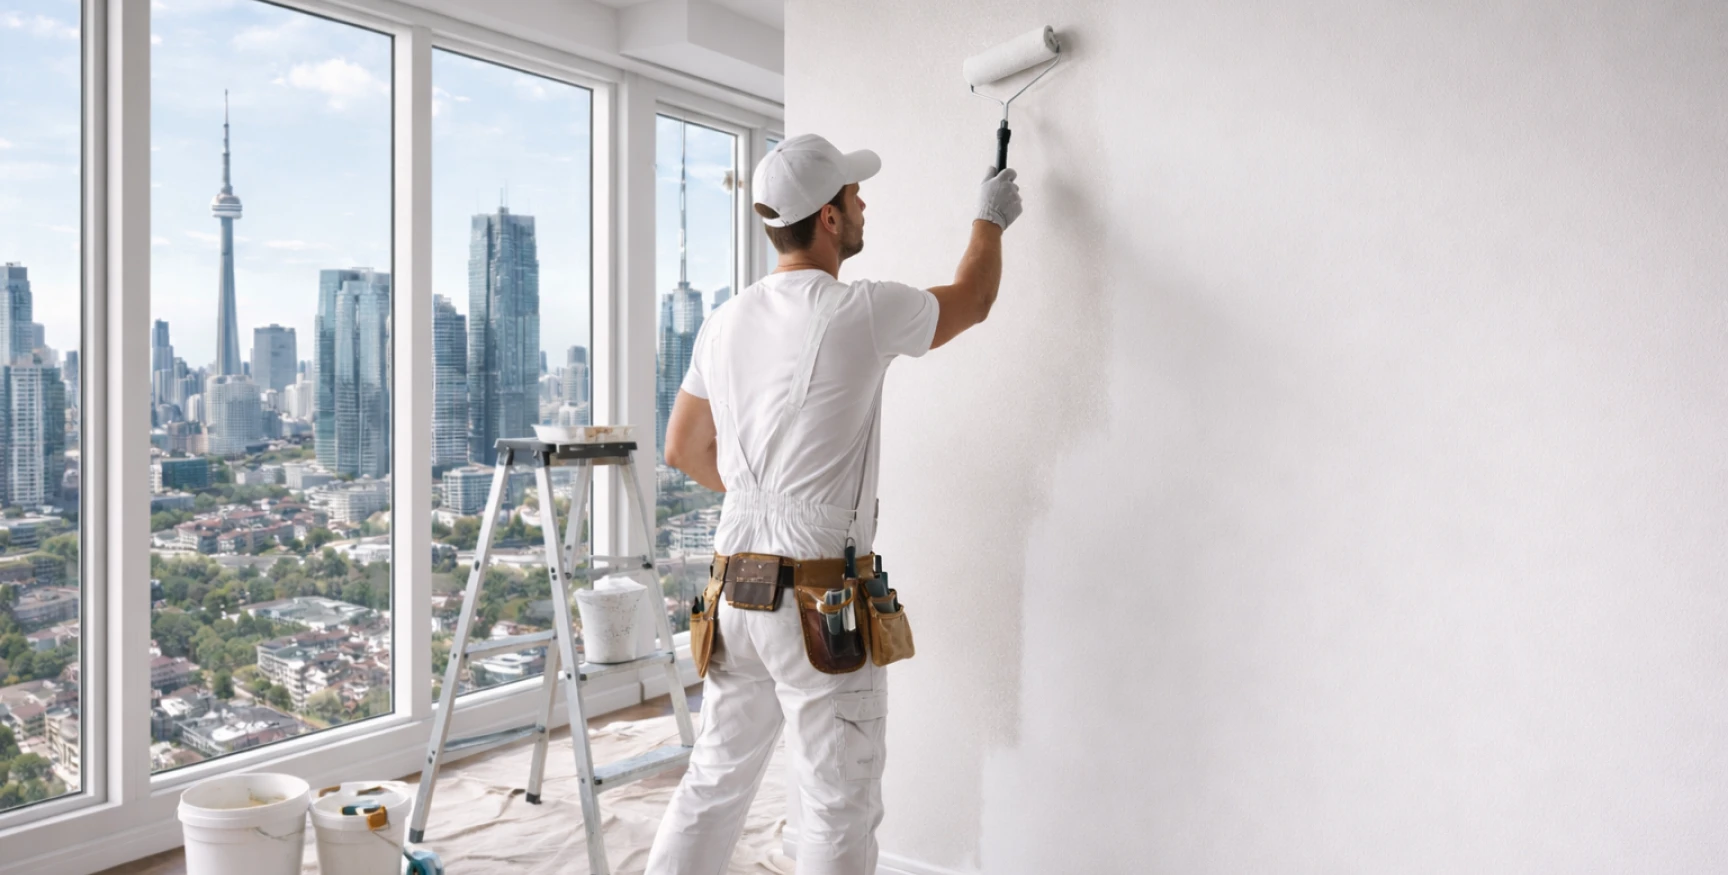
Cleaning your walls is the most critical step before painting to ensure a smooth, long-lasting finish.
- Why You Must Clean: Paint requires a clean surface to adhere properly. Dirt, dust, and grease prevent adhesion, leading to peeling and bubbles.
- The Solution: Use a two-bucket system: one with warm water and mild dish soap, and one with clean water for rinsing. For heavy grease, a specialized degreaser is required.
- The Pro Tip: Always rinse with clean water and wait a full 24 hours for the wall to dry completely before painting.
- The Expert Choice: For a flawless, stress-free result, Paint My Condo handles all professional preparation, ensuring your space is spotless and ready for a premium finish.
Why Do I Need to Clean a Wall Before Painting?
Cleaning your walls is the most important step before you paint, but it is often the one people forget. If you skip cleaning, your new paint will not stick to the wall. This leads to a messy finish with bubbles, flakes, and peeling paint that starts to look bad very quickly.
In a condo, walls get dirty from a few things:
- Air Dust: Dust and pet hair float in the air and stick to walls, especially near baseboards.
- Cooking Grease: Kitchen walls get a sticky layer of grease and cooking fumes that stops paint from sticking.
- Handprints: Walls in hallways and living rooms get oils and dirt from people’s hands.
A clean wall is a fresh start for a long-lasting, smooth paint job. At Paint My Condo, we believe a clean wall is the foundation for a long-lasting, smooth paint job. We provide upfront pricing for your project, ensuring all necessary preparation is accounted for
The Professional 5-Step Wall Cleaning Process
We have painted thousands of condos in the GTA. In our experience, following this simple five-step process is the key to perfect wall prep.
1. Inspect the Room: Does Your Wall Need Special Cleaning?
Before you clean, look at the room. Different rooms need different types of cleaning:
- Kitchens and Bathrooms: These walls have the most grease and moisture. You will need a stronger degreaser (like sugar soap) here.
- Bedrooms and Hallways: These usually only need a light dusting and a wash with mild soap and water.
- Walls near doors: Check for scuff marks or sticky residue from tape or posters.
2. Dust and Sweep the Walls First
Do not just start wiping. You need to remove all the loose, dry dust first.
- Tools: Use a dry microfiber cloth, a lamb’s wool duster, or the brush attachment on your vacuum cleaner.
- Method: Start at the top of the wall and work your way down. This pushes the dust onto the floor, where you can vacuum it up easily.
- Why We Do This: If you wash the wall before dusting, you just turn the dust into mud, which makes the wall even dirtier and harder to clean.
3. How Do You Wash Walls with the Right Solution?
The right cleaning mix does not have to be confusing. You don’t need fancy chemicals. We prefer simple solutions that work well without damaging the wall or leaving a residue.
The Best Cleaning Solutions:
- For Most Walls (Standard Dirt): Mix a few drops of mild dish soap (or a non-abrasive household cleaner) with a bucket of warm water.
- For Grease and Heavy Grime (Kitchens): Use a dedicated, non-abrasive degreasing solution designed for interior walls
You should always use two buckets: one for the cleaning solution and one for clean rinse water. This keeps your cleaning rag clean, so you are not just spreading dirty water around the room.
4. Wash and Rinse the Wall Properly
You should clean the walls in small, manageable sections, starting from the bottom and working your way up.
- Wash: Dip a soft sponge or microfiber cloth into your cleaning solution. Squeeze out almost all the water. The cloth should be damp, not dripping. Too much water can damage drywall, which is a common problem in small condo spaces.
- Wipe: Gently wipe the wall in circular motions, or use up-and-down strokes to avoid streaks.
- Rinse: Immediately switch to your second bucket of clean water. Wipe the washed section again with a clean, damp cloth. This removes any leftover soap residue, which is vital for good paint adhesion.
- Repeat: Overlap your sections so you do not leave any dirty lines.
5. Allow for Complete Drying Time
This is the non-negotiable step: the walls must be totally dry before you paint. If you paint a damp wall, the paint will bubble and peel off later.
- Wait at least 24 hours after rinsing.
- To speed things up, you can open a window or use a fan.
Dealing with Tough Stains and Problem Areas
Sometimes, a regular wash is not enough. Here is how we handle harder-to-clean spots we often see in Toronto rental units:
- Mold and Mildew: You need a mix of bleach and water (one part bleach to three parts water). Wear gloves and goggles. Spray lightly, wait 10 minutes, and rinse well. Mold needs to be fully killed and removed, or it will grow through the new paint.
- Crayon and Marker: Try a damp magic eraser, but use it lightly. If that fails, a small amount of rubbing alcohol on a rag can work.
- Nicotine and Smoke Residue: Walls that have smoke damage need to be washed with a strong degreaser (like sugar soap) multiple times. After cleaning, we highly recommend using a stain-blocking primer. This is the only way to stop the yellow stain and odor from bleeding through the new topcoat.
When Does Cleaning Need More Prep?
Cleaning takes care of dirt, but sometimes, the wall has more serious problems. We often see customers make the mistake of thinking a clean wall is ready to paint when it really needs a repair.
- Small Dents or Nail Holes: Use joint compound or spackle to fill the holes. Let it dry completely.
- Peeling Paint or Uneven Patches: Gently scrape the loose paint. Sand the edges so they blend into the wall.
- Shiny Finish (High-Gloss Paint): Sand the wall lightly with fine-grit sandpaper (180–220 grit). This is called “scuffing” and gives the new paint something to grip.
The Paint My Condo No Mess Promise
Wall prep, including proper cleaning, is non-negotiable for a professional result. As a team of professional painters, we always make sure the walls are spotless before we even open a can of paint. We cover your floors and furniture and leave your home clean. Our goal is simple: To make your condo look brand new without any stress for you.
If you are a homeowner or landlord in the Toronto area and want a perfect, clean paint job that lasts for years, let our pros handle the prep and the painting.
Want to learn more about achieving a stress-free paint job in your condo? You can get a price online for our Interior Painting Services.


 5 star reviews